 Michele Eccher
On this page
Save the original version and define what the page should help readers do
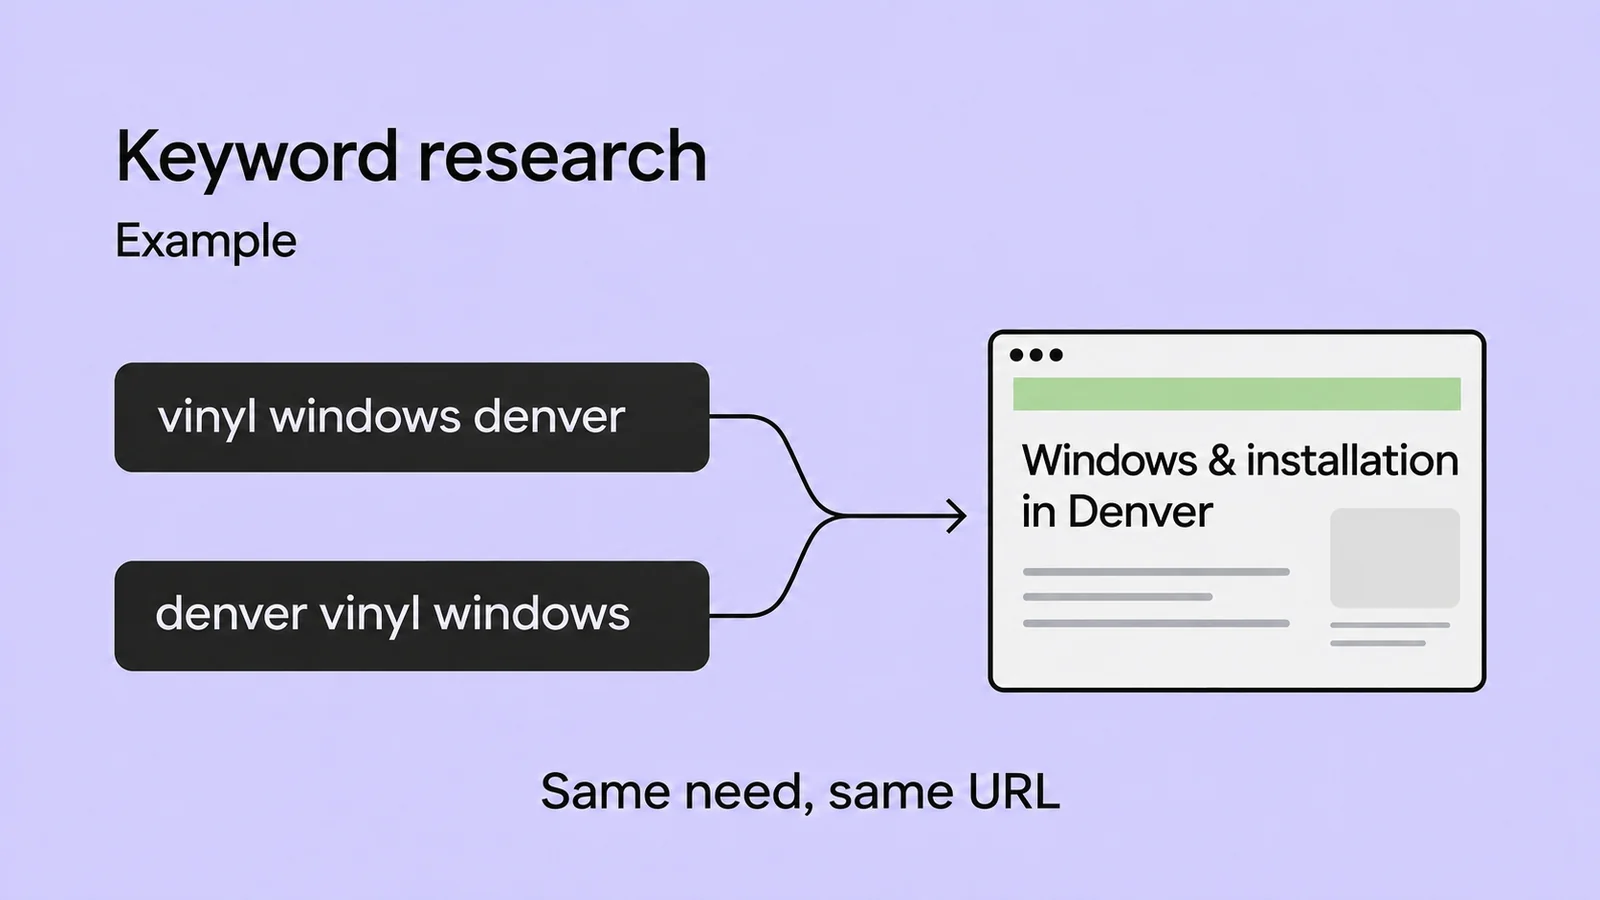
Open the page, your CMS, and a working document. Record the full URL, its assigned query, and the task a reader should be able to complete: choose a product, decide whether a service fits their needs, or follow a procedure. If you haven’t chosen the query and destination page yet, start with keyword research.
Save the current title tag, meta description, H1, and body copy, along with desktop and mobile screenshots. Note which images and links you plan to change. The downloadable log has fields for the original text, the revised version, and a check you can repeat. Describe the problem you observed before proposing a fix.
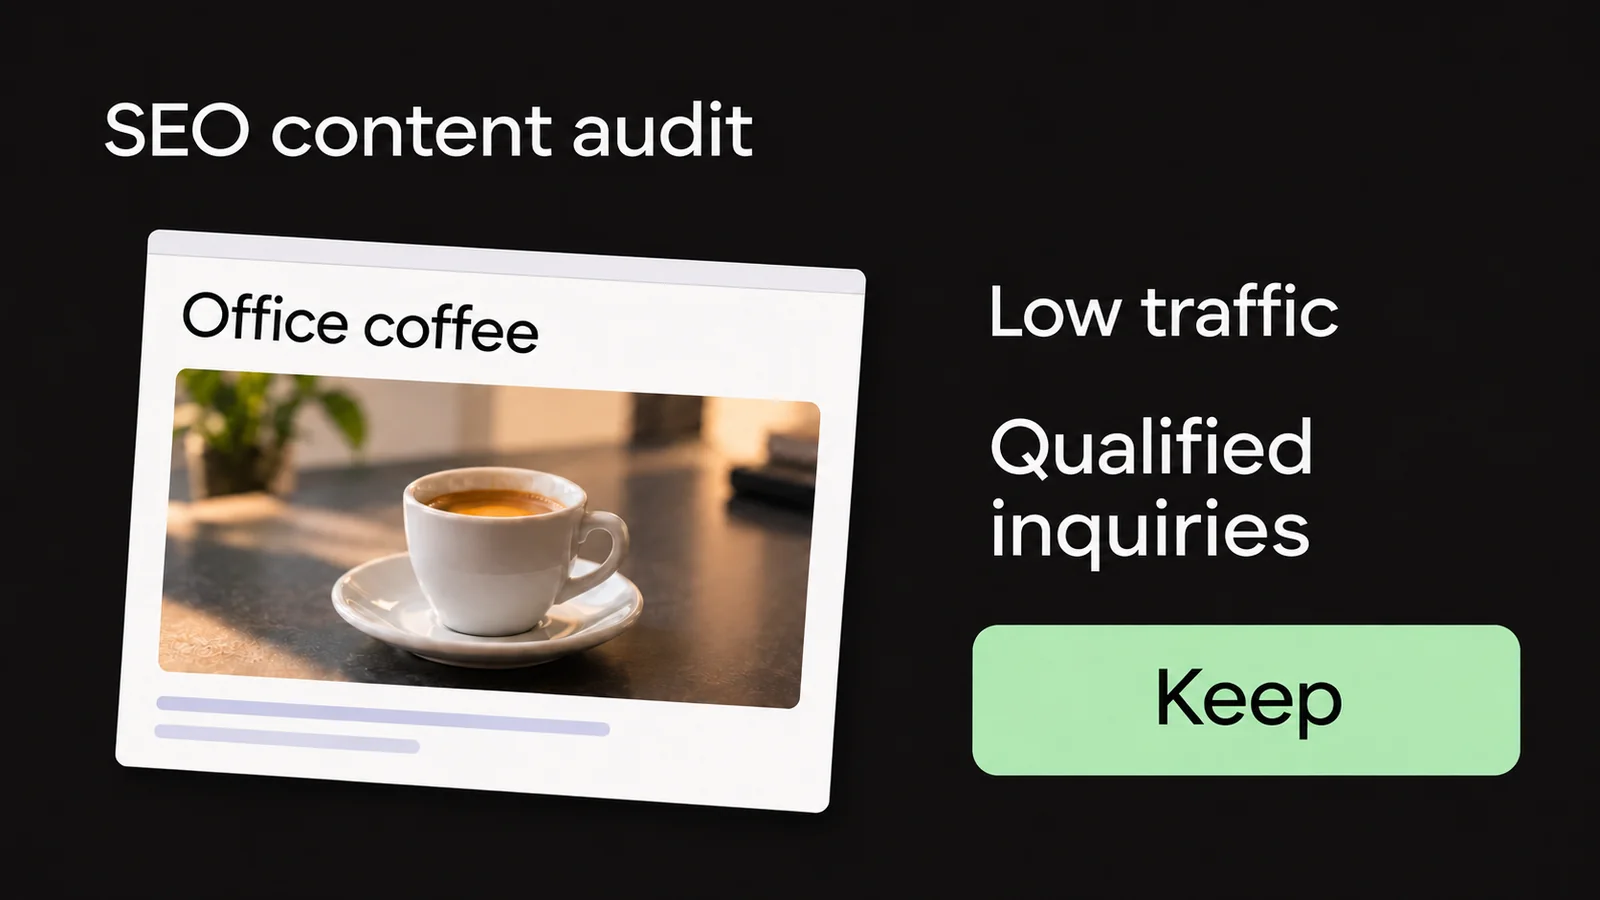
For example, “the product dimensions are missing” tells you to look for a specific fact in the manufacturer’s specifications. “The page is poorly optimized” doesn’t tell you what to fix. If another URL already answers the same question, use an SEO content audit to check the overlap before developing two competing answers.
Fill in the missing information and put it in a useful order
Reread the page as someone trying to make the decision recorded in your log. Mark where a fact, condition, or step is missing. A product page may need dimensions, materials, and compatibility details; a service page may need to explain what’s included and any requirements. A procedure should identify the tools needed and the result to check.
Get the information from people who know the product or service, technical documents, and available test results. Keep the source in your log. Verify any undocumented feature before promising it on the page. Paper weight alone, for example, doesn’t prove that a notebook will work with every type of ink.
Put the main answer first. Use H2s for the next questions and H3s for subsections. Choose heading levels based on how the content fits together, then adjust font sizes in the stylesheet. Cut a paragraph that repeats the introduction without adding information. Keep a detail that could change someone’s decision, even if it makes the page longer.
Google says it has no preferred word count. Don’t pad the page to reach a length target or repeat the query to hit a keyword percentage. Name the subject clearly and use the terms needed to explain it. “Paper,” “pages,” and “dot grid” add detail to our notebook example; repeating “A5 dot grid notebook” in every sentence doesn’t.
Make the title tag, H1, and meta description match the page
The <title> element is the title in the HTML, also used in the browser tab. The H1 is the main heading readers see on the page. They can differ as long as they describe the same answer. You might include the brand in the title tag and give a distinguishing feature more room in the H1. Check both the SEO title field and the visible heading field in your CMS; it may link them automatically.
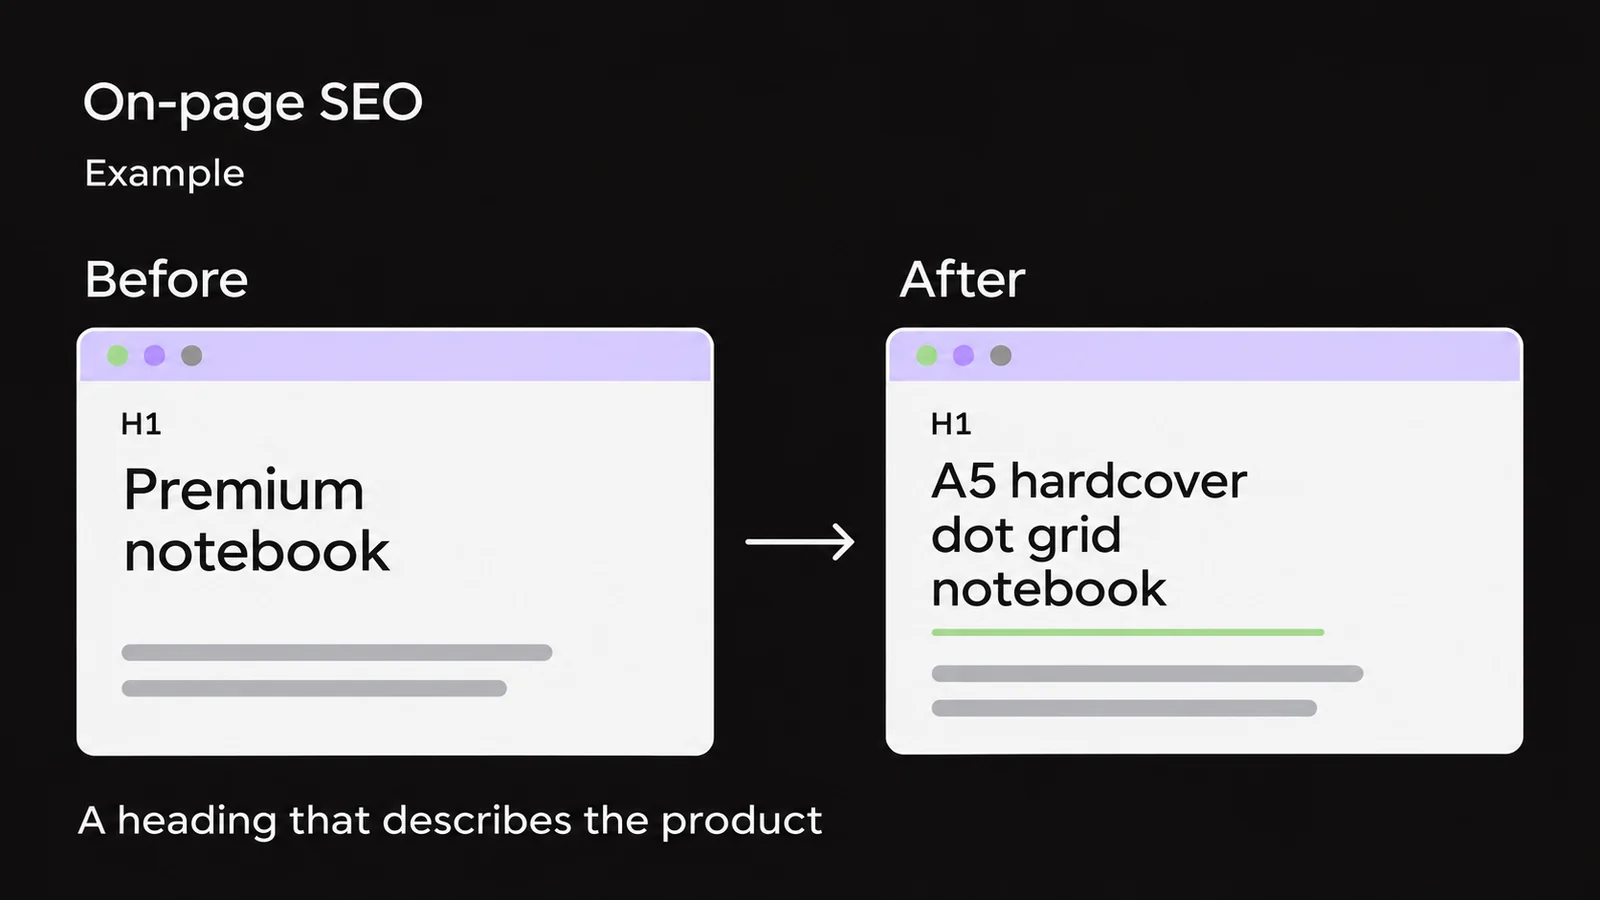
Write a specific, concise title. “Premium notebook” doesn’t distinguish one product from another; its size, page layout, and page count do. Google sets no character limit for title tags and may truncate the search result title to fit the available space. Check that the beginning makes sense even if the end is cut off. Google’s title link guidance also explains that it may use the H1 or other sources to generate the result title. The text you enter in the CMS isn’t guaranteed to appear exactly as written.
The meta description summarizes the specific page. Write it after finishing the content so it doesn’t promise information the page lacks. There’s no required length here either. Google’s snippet documentation explains that it may truncate the description or use a passage from the page, with different snippets for different searches. A plugin preview helps you review the copy; it doesn’t show exactly how a future search result will look.
A complete example: a notebook product page before and after
Carta Esempio and its product are fictional. The specifications, copy, and paths illustrate the revision; they don’t describe a Qreativa client or measured results. The assigned query is “A5 dot grid notebook,” and the URL stays https://example.com/a5-dot-grid-notebook/. In this scenario, the manufacturer’s specifications already confirm the details used in the revised version. Price, availability, purchasing, and delivery terms appear in separate blocks and remain unchanged.
Before the revision
- Title tag in the HTML
- Premium notebook | Carta Esempio
- Meta description in the HTML
- Discover our premium notebook, perfect for every need. Quality and style to give your creativity room to grow.
Product page content
H1Premium notebook
The perfect companion for your ideas. A unique notebook designed to be by your side throughout the day.
Only the closed cover is shown; you can’t see the pages inside.
- Main photo alt text
- premium notebook journal best notebook
H2The quality you’re looking for
Carefully chosen materials and thoughtful design make every page special. Pick your new notebook and let your creativity flow.
- Link in the body copy
- Learn more
/
After the revision
- Title tag in the HTML
- A5 dot grid notebook, 160 pages | Carta Esempio
- Meta description in the HTML
- A5 hardcover notebook with 160 dot grid pages and 100 gsm paper. See the inside pages and compare the dot grid with the lined version.
Product page content
H1A5 hardcover dot grid notebook
An A5 notebook with 160 dot grid pages and a black hardcover. Dots spaced 5 mm apart help you align notes and tables without solid lines across the page.
Photos of the open notebook and a close-up of the cover with its elastic closure.
- Main photo alt text
- A5 notebook open to its dot grid pages
- Caption
- Dots spaced 5 mm apart on the A5 notebook’s pages.
H2Size and paper
The pages measure 14.8 × 21 cm, and the paper weighs 100 gsm (grams per square meter). The interior photo shows the dot grid; the cover detail shows the elastic closure. If you prefer continuous lines to guide your writing, compare the lined A5 notebook.
- Link in the body copy
- Lined A5 notebook
/lined-a5-notebook/
The revised title identifies the product, and the page gives readers enough detail to evaluate its size, paper, and page layout without looking elsewhere. “Size and paper” tells them what the next section covers. The interior photo answers a question the closed cover couldn’t. The link to the lined version gives readers an alternative if they decide the dot grid isn’t for them.
Before applying the same approach to your page, verify every detail you add. If the manufacturer’s document doesn’t confirm the 100 gsm paper weight, ask for the specification. You can’t establish it from a photo or borrow it from a similar product.
Choose images that show useful details and links readers need
Ask what information each image makes visible. The notebook example needs to show the dot grid; a service page might benefit from an example of the finished deliverable. Place the visual near its explanation. If an image contains essential written information, include it in the page’s readable text too.
Write alt text based on what the image shows and why it appears there. “A5 notebook open to its dot grid pages” describes the planned photo; a string of keywords doesn’t. Use alt="" for a purely decorative image. Google’s image guidance explains the relationship between alt text, context, and accessibility.
Export legible images in a modern format, such as WebP or AVIF, at sizes suited to the layout. Work with your developer to check srcset, sizes, the declared width and height, and which file actually downloads on a phone. Defer images that are offscreen. If the main image is the Largest Contentful Paint (LCP) element, avoid loading="lazy", as recommended in the LCP optimization guide. LCP measures when the largest content element in the initial viewport renders. Measure loading performance after replacing an image; the file format alone doesn’t prove an improvement.
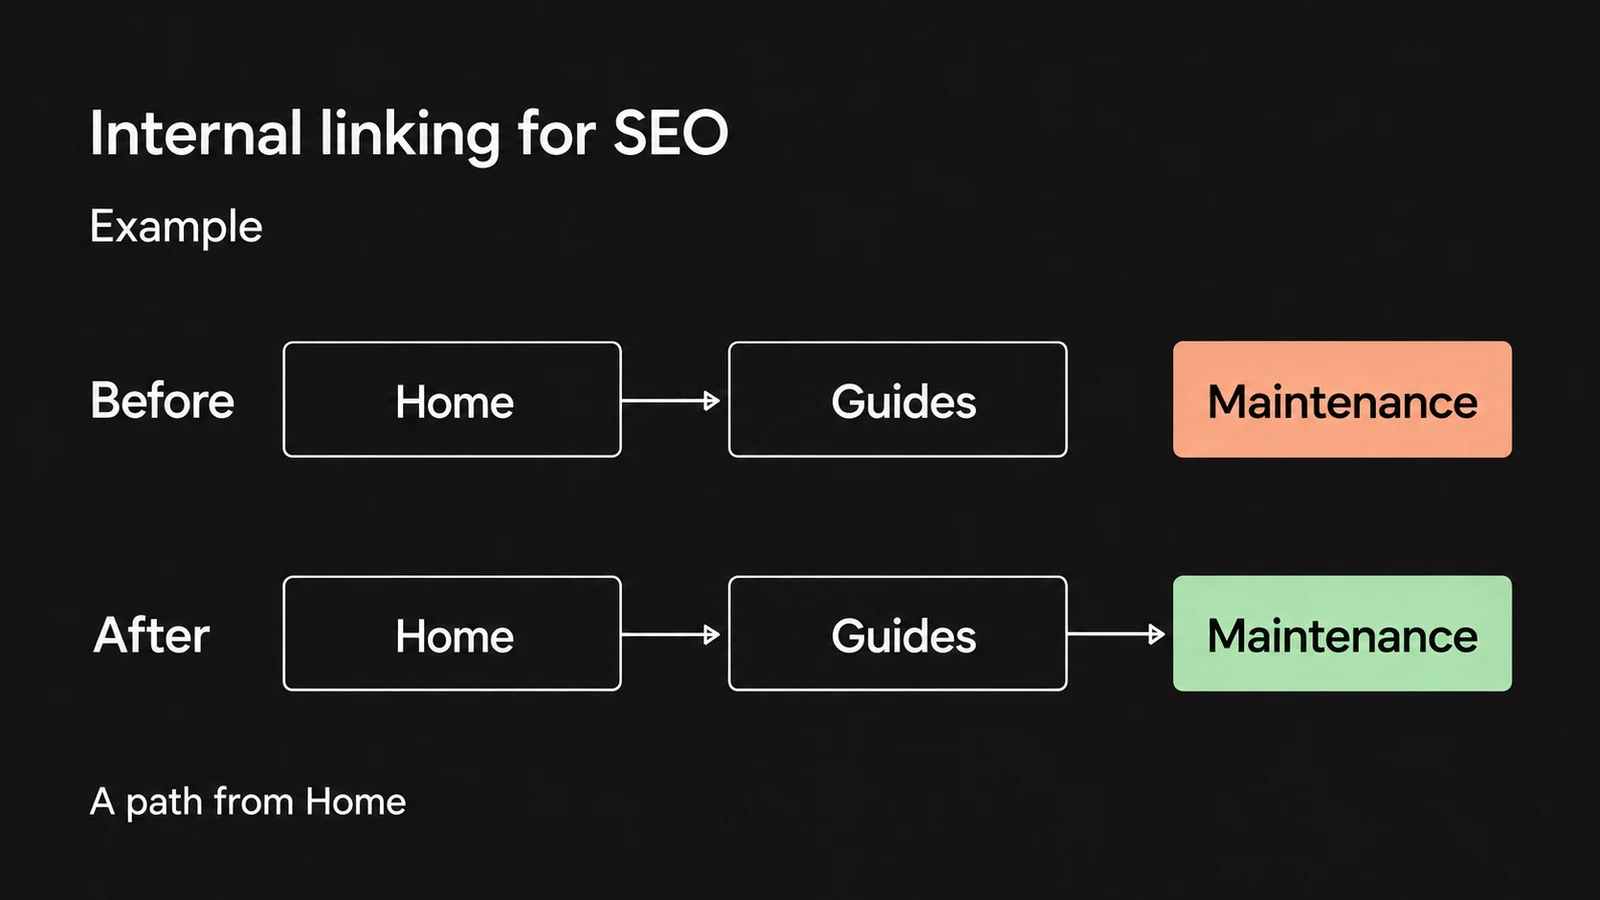
Add links where a different question comes up. Use descriptive link text and an HTML link with an href, following Google’s link guidance. Open the destination to check that it answers that question. For help choosing which other pages should link to yours, see the internal linking guide.
Check the published page and identify technical issues
Save your changes in the CMS and follow the site’s publishing process. Then open the public URL in a browser window where you aren’t logged into the editor. A correct draft or CMS preview doesn’t prove that visitors receive that version.
Read and use the page
Compare the H1, sections, images, and captions with your log. Open any tabs and FAQs. Repeat the process on desktop and a phone: check that text and details are legible, tables are usable, and links lead to the intended URLs. Test the main action too, such as submitting a contact request, using the site’s test mode when available.
Inspect the HTML the site produces
Open your browser’s developer tools and the Elements panel. In
head, findtitleandmeta name="description". Check that each contains the approved text and that there are no duplicates. In the body, check the H1, image alt text, and changedhrefvalues. The initial source can differ from the HTML after JavaScript runs. If the details appear only afterward, include the rendering check described below.Check access and indexability
In the Network panel, reload the page and inspect the document request. The final URL, HTTP status, and content should match what you expect. For a page intended for indexing, look for unintended
noindexdirectives in robots meta tags and theX-Robots-TagHTTP header. Also check whererel="canonical"points. Record any errors, access blocks, or unexpected canonical URLs and follow the technical SEO audit guide. Editing copy won’t fix an access block, and an HTTP 200 response doesn’t prove the page is indexed.Check what Google can fetch
If you have Search Console access, enter the URL in the URL Inspection tool. Select “Test live URL,” then “View tested page.” Find the new title and a distinctive passage of the revised copy in the HTML, and inspect the screenshot. The test shows the version fetched at that moment. Check the indexed version and last crawl date separately to see whether Google has recrawled the page. Without access, record this check as “not verified.”
If the live copy is correct but a search result shows a different title or snippet, save the query, date, and screenshot. Check whether the headings are consistent and review the crawl date before rewriting everything again. Google may choose a different presentation even when the page’s fields are correct.
Download the change log and keep evidence of your edits
Use one row per change. In before, save the original copy or problem; in after, enter the version you plan to publish. Record the source of any new facts and a check you can repeat. After publishing, add the dates, status, and outcome, along with a reference to a screenshot or saved check.
Import the CSV as UTF-8 with a comma delimiter. Use “to do” before making a change, “needs verification” after applying it, “verified” after checking it, or “needs correction” if you find a defect. Use “not verified” when a check cannot be completed, and record the reason in the outcome field. Every example row is marked “to do”: the rows describe planned work, not checks that have actually been performed.
Keep the publication date for later analysis. In Search Console, filter for the individual page and compare queries and periods using consistent criteria. The guide to measuring SEO results explains how to interpret clicks, impressions, and outcomes that matter to the business. The log records what you changed. A later increase in clicks alone doesn’t prove your changes caused it.
SEO plugins and page URLs
Do I need an SEO plugin to edit the page?
A plugin can make it easier to enter title tags and meta descriptions. First check which fields your CMS already handles: two systems adding the same metadata can create duplicates. Inspect the HTML of the published page to check the result. A plugin score doesn’t tell you whether the content answers the reader’s question.
Should I change the URL to include the keyword?
When revising an existing page, keep a URL that already works and clearly identifies the page. Adding a keyword to the slug alone doesn’t justify moving it. If a structural change requires a new URL, plan the redirect, link updates, and destination checks separately. Update existing references to the page as well as the URL field in your CMS.